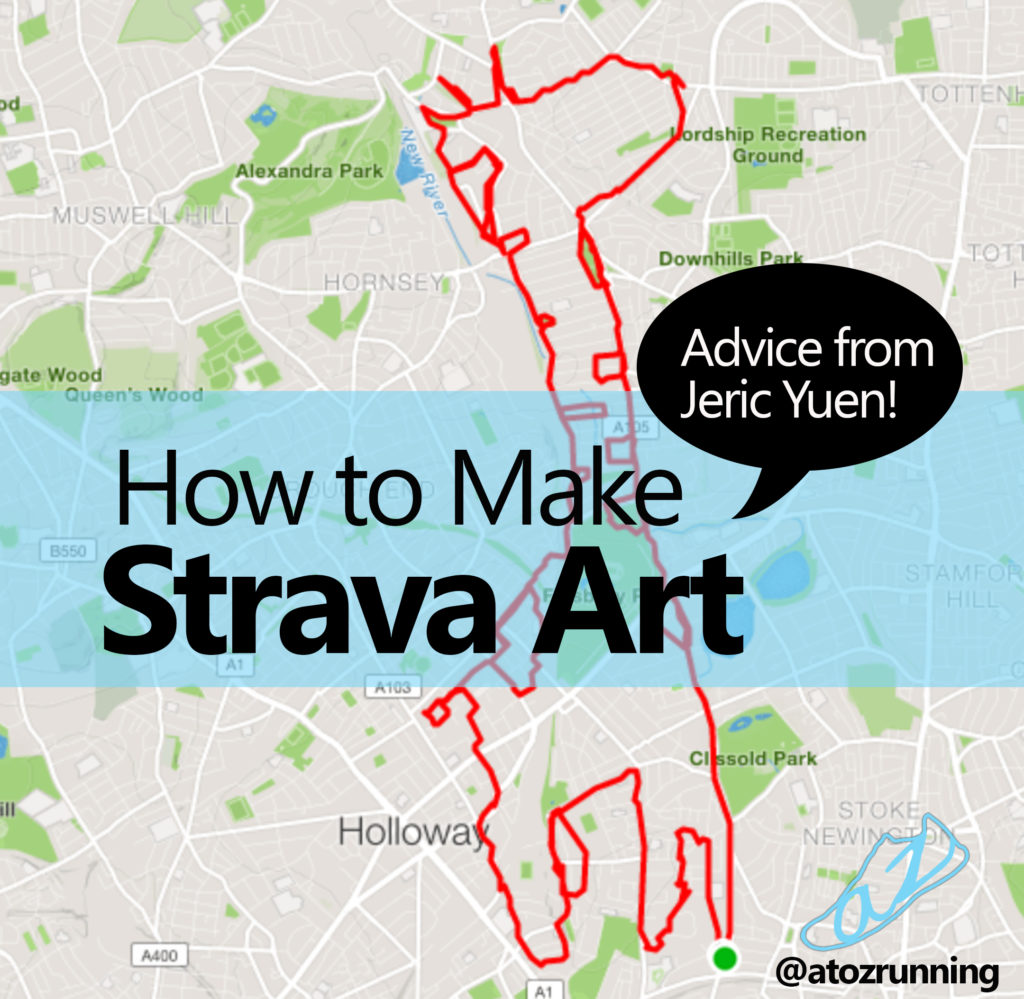
How to Make Strava Art
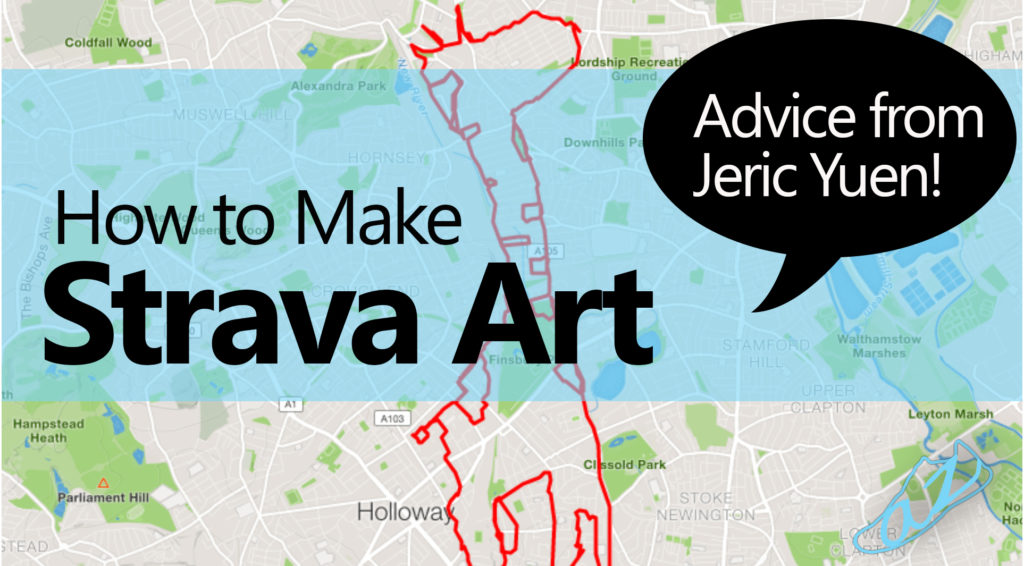
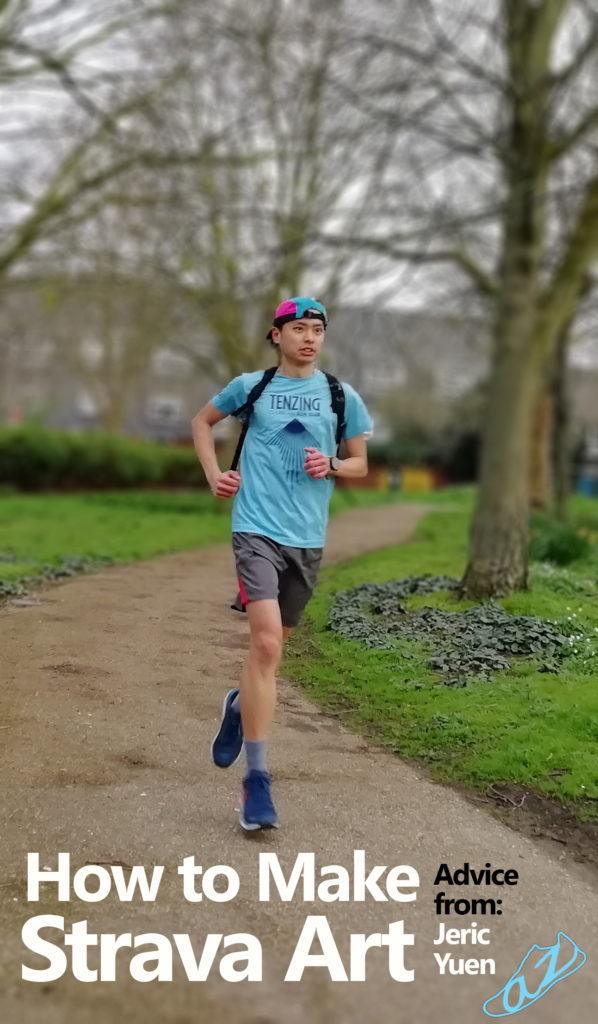
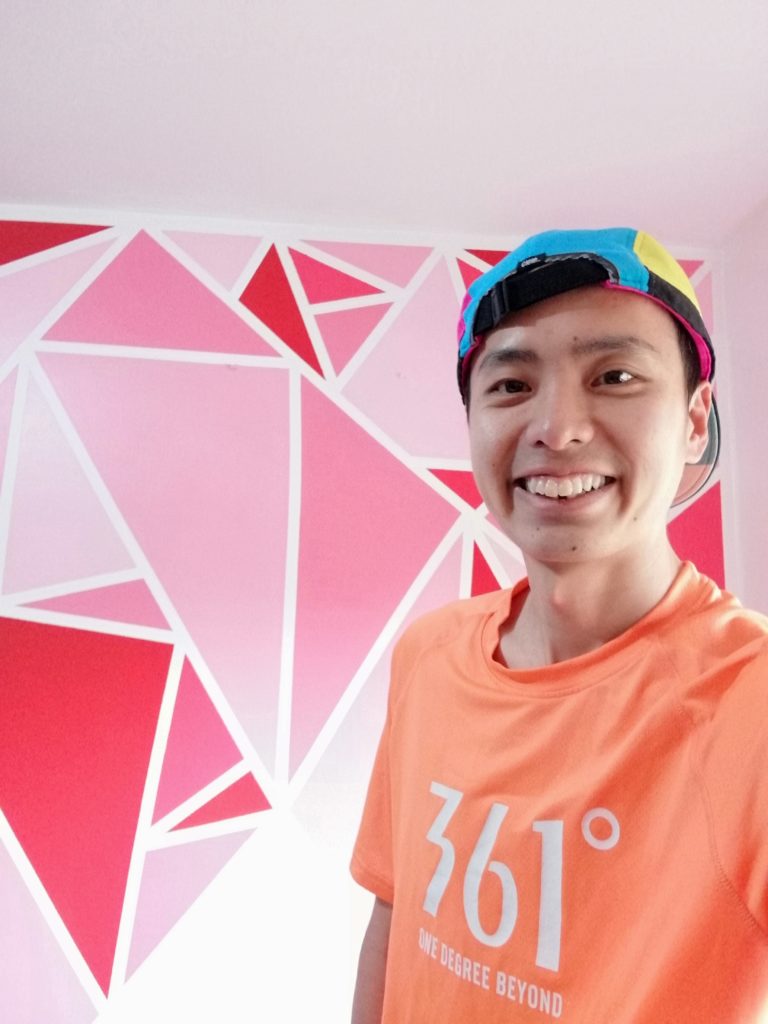
Daily runs become a lot more interesting with Strava Art. We don’t have much first hand experience, so we reached out to Jeric Yuen who suggests creating Strava Art as an extra piece of motivation and fun. You can hear Jeric on episode 25 of the A to Z Running Podcast. We loved his recommendation of running creatively during social distancing, so we followed up further with Jeric about how to make Strava Art.
Need a few pointers for your own Strava art? Read on.
What is GPS Art

Strava art utilizes GPS (global positioning system) to record a route that is recorded the path of your location as a work of art. GPS drawing has been picked up by athletes in recent years but had it’s beginning way back in 1994. A woman named Laura Kurgan began recording GPS locations over time and displayed it on her computer screen. Her work was featured at an art exhibit. Since 1994 GPS art has grown into a sport by motorists, captains, cyclists, pilots, runners, and others.
The Steps
1. Download a GPS capable app.
Jeric recommends Strava with the Strava Route Planner. You must create your route on your computer or browser using this method.
2. Find a location.
Rural areas may be difficult to make Strava art because the roads tend to be straight. Jeric shares, “I like areas that have got lots of curvy shapes on the road, which give you more possibility to draw more different objects.” Once he has a running location, then he plans his art.
3. Plan a route.
This is where the creative juices get going. Jeric says that the roads and trails inspire him. He sees the shapes as he previews a location on a map.
Jeric advises, “For beginners I would recommend trying something small.” Choosing something simple will help your first design experience to be more enjoyable.
Ideas for beginner routes:
- Cup
- Simple ship
- Words
- T-shirt
- Mitten
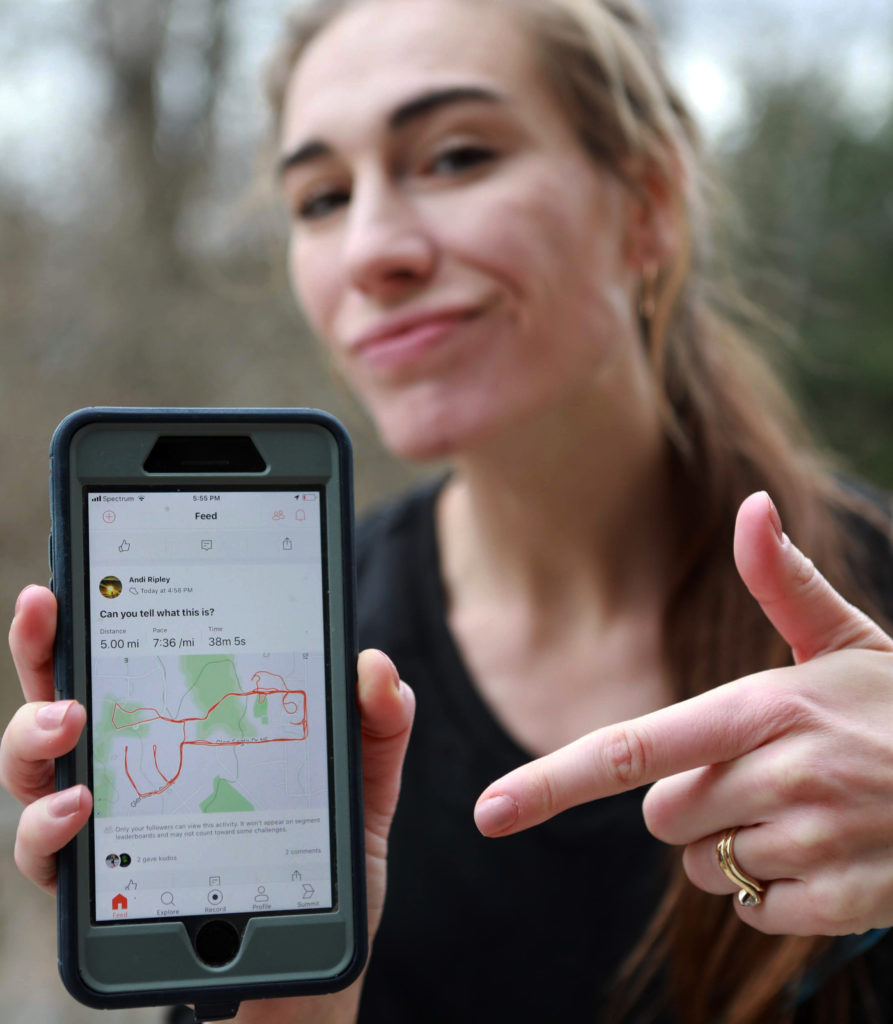
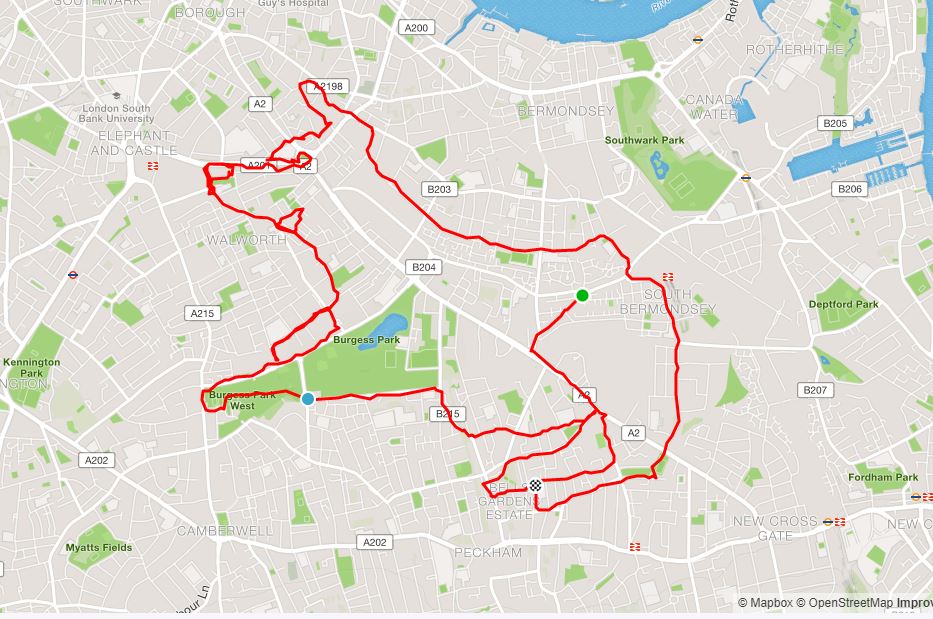
I went ahead and tried a fish. Can you tell what it is? Not super recognizable, but everyone has to start somewhere! The map was only 3 miles, so I kept going and added a fin. I wanted to do something simple, but I am learning how to visualize and I couldn’t see any of the above shapes.

Bonus tip: Don’t make your run map too small, or it ends up looking like this (see photo.) You may think you will have more artist control in a parking lot or field, but if it is not large enough the GPS tracking doesn’t work to “paint” your image.
4. Draw with your legs.
Now it’s time to run! Bring your phone along and follow your premade route. Jeric says he often does his “drawing” on long runs and the miles fly by. I can imagine so, I’ve only done it once and the run was accomplished in a snap.
I added the fin on my fish impromptu. It’s art, keep it fluid if you want. If you mess up, work it into the drawing. It’s meant to be fun.
Considerations for creating GPS Art
The longer the run, the smoother the lines. Details are clearer. Jeric suggests that if you do something less than a 10k to consider a simpler object.
Jeric also suggests choosing a day where you have flexibility in your total mileage for the day. This will allow for more creative leeway.
Do you have to be an artist to try out GPS art? Nope! Jeric reveals that he doesn’t really draw on paper, but he is able to execute his creatively with the lines and shapes he sees on routes.
Have you tried out Strava Art? We would love to see it! We are on Facebook, Instagram, and Twitter. Zach would also like to connect with you on Strava!
Thanks to Jeric for his advice and input to help us learn how to make Strava art. He is inspired to keep creating to bring awareness to his efforts raising money for paralyzed people to live an active life again. You can get involved here. You can follow Jeric’s work on instagram @coderunnerguy .